Creating Your Own Aged Cheddar
There’s something deeply satisfying about crafting a food that’s meant to get better with time. While instant gratification has its place (hello, fresh ricotta), aged cheddar is a lesson in patience, transformation, and culinary craftsmanship. It’s bold, crumbly, and bursting with complexity — but what if you could create it yourself?
You don’t need a professional creamery or decades of dairy wisdom to age cheese at home. With the right setup, a bit of attention, and a touch of curiosity, you can build flavour, texture, and character in your own handcrafted cheddar. This guide will walk you through the art and science behind DIY cheese ageing, offering both practical tips and real-world insights.
So, if you’ve ever dreamt of slicing into a wheel of cheese you crafted with your own hands — and matured to perfection in your kitchen — you’re in the right place. Let’s explore how to create aged cheddar using a gourmet cheese home kit, your senses, and a bit of fermentation finesse.
What Makes Aged Cheddar So Special?
It’s more than just cheese — it’s alchemy
Cheddar is one of the most widely loved cheeses in the world. But aged cheddar is something else entirely. The transformation during ageing turns a relatively mild, rubbery cheese into a deeply flavoured block that crumbles with pride and melts like a dream.
Here’s what ageing can unlock:
- Sharpness: A tangy, acidic bite that develops over time
- Complexity: Nutty, grassy, or even caramel notes
- Texture: Firmer, crumbly body with satisfying chew
- Aroma: That unmistakable earthy, matured smell
And unlike soft cheeses, aged cheddar keeps evolving as it sits — it’s a living, breathing creation.
Why age your own?
Let’s be honest — it’s not about speed. It’s about control, creativity, and that first slice of something truly handmade.
Ageing your own cheddar gives you:
- Ingredient control — use organic or raw milk if you prefer
- Custom ageing levels — go for a 3-month mild or push to a 12-month sharp
- Flavour experiments — add spices, infusions, or smoked finishes
Plus, there’s something incredibly rewarding about watching a cheese mature in your care, like raising a sourdough starter, but with a much stronger smell.
Understanding the Cheese-Making Basics
Before diving into ageing, it’s important to understand what makes cheddar, well, cheddar.
The cheddar process: curds and whey
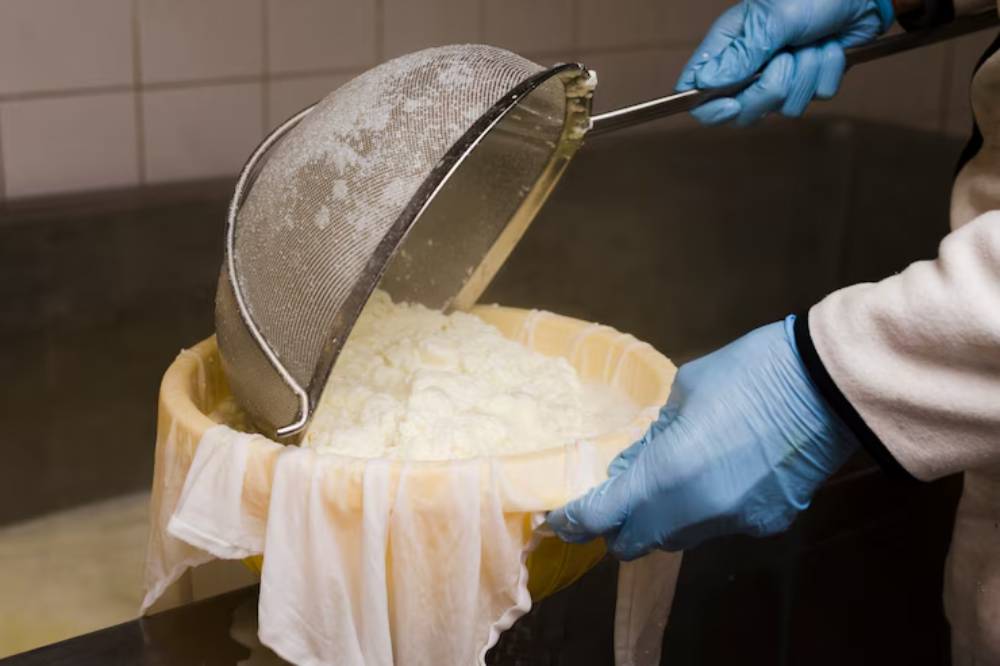
The journey starts like most cheeses — with fresh milk, heated and acidified using starter cultures. Rennet is added to coagulate the milk into curds, which are then cut, stirred, and cooked to release whey.
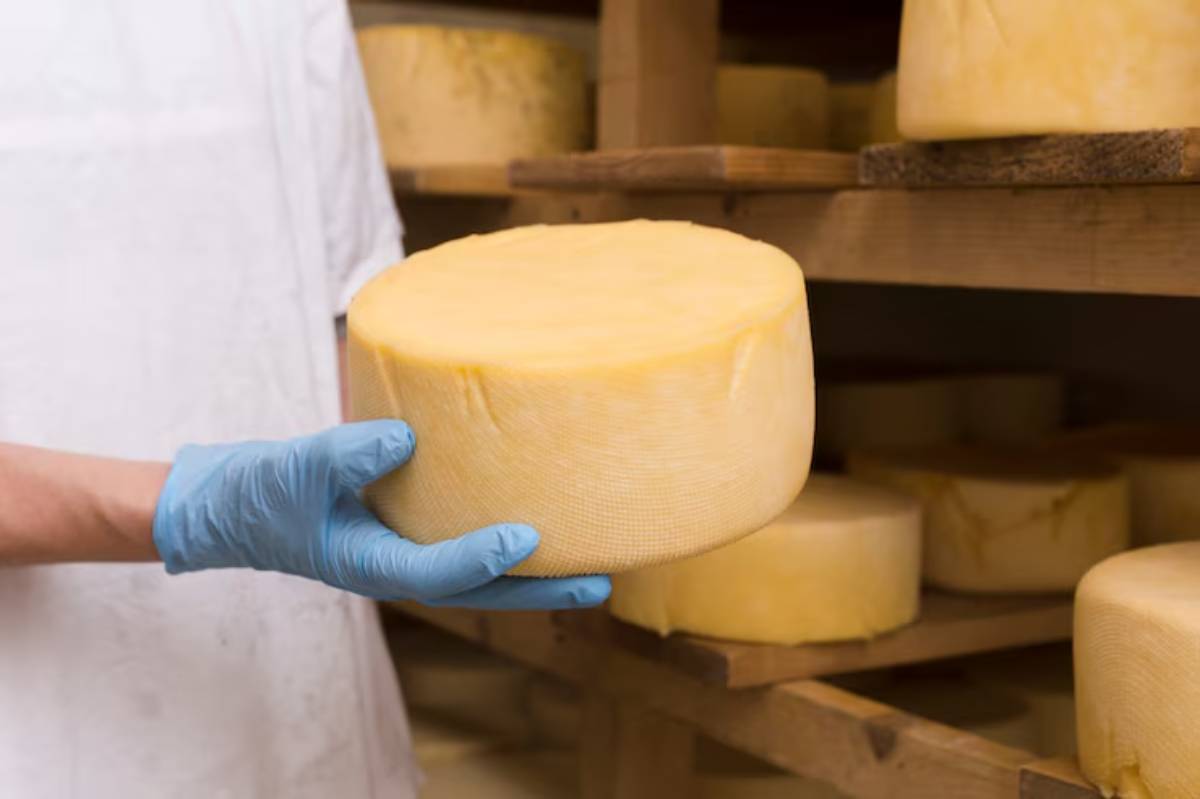
Here’s where cheddar stands apart: it undergoes a process called cheddaring, where the curds are stacked, flipped, and pressed repeatedly to expel more moisture and develop elasticity. Once milled and salted, the curds are pressed into moulds and ready for the cave (or, in your case, cheese fridge).
If you haven’t made cheddar yet, starting with a quality milk and following a reliable base recipe is key. Consider exploring our foundational cheese article before jumping into ageing.
Setting Up for DIY Cheese Ageing
Do you need a cave?
Not quite — but you will need a controlled environment.
Aged cheddar matures best at around 10–12°C with 80–85% humidity. Too dry, and the rind cracks; too wet, and you’ll be fighting mould wars.
Here are your options:
- Wine fridge or cheese cave: The ideal choice for beginners. It holds temperature and humidity reliably.
- Converted mini fridge: Add a digital thermostat and a bowl of salted water to maintain moisture.
- Cool basement or cellar: Can work well in cooler climates, but will need consistent monitoring.
For humidity control, many home cheesemakers use a cheese ageing box (a food-grade plastic container with a breathable lid) to hold the cheese in a micro-environment.
The Waxing vs Natural Rind Debate
Option 1: Waxing
This is the safer route for home ageing. By coating the cheddar in cheese wax (after a short air-drying period), you prevent moisture loss and block harmful moulds.
- Pros: Low maintenance, clean look, good for longer ageing
- Cons: You won’t get a natural rind or “cave-aged” flavour profile
Option 2: Natural rind
Here, you let nature do its thing. The cheese dries into a firm rind that darkens over time. You’ll need to brush, flip, and monitor it regularly.
- Pros: More traditional, complex flavour development
- Cons: Higher risk of contamination if conditions aren’t spot on
Whichever path you choose, ageing cheddar teaches you how to balance time, care, and environment — it’s where cooking meets craft.
The Ageing Timeline: What to Expect Month by Month
Each cheddar you age tells its own story.
But here’s a rough idea of what unfolds:
- Week 1–2: The cheese starts firming and drying. If unwaxed, a rind begins to form.
- Month 1: Mild flavours appear. If you cut it now, it tastes closer to Monterey Jack than cheddar.
- Month 3–4: Texture tightens, and a slight sharpness emerges. This is “young cheddar”.
- Month 6: The first real “bite”. Flavour intensifies, and saltiness becomes more pronounced.
- Month 9–12+: Complex notes evolve — nuttiness, tang, and depth. The cheese becomes crumbly with sharp edges and melt-in-mouth pockets.
Just like wine, cheddar develops character with age. Taste monthly, keep notes, and observe how flavour unfolds.
Common Pitfalls in Home Cheese Ageing
Even seasoned cheesemakers face challenges. Here’s what to look out for — and how to fix it:
1. Cracking
Usually caused by low humidity. Try ageing in a box with a damp cloth or increase moisture around the cheese.
2. Off smells
Cheddar should smell sharp or nutty, not sour or musty. Bad odours could signal contamination or over-humidity.
3. Unwanted mould
Blue or black mould on a natural rind? Scrape it off with a clean brush and vinegar solution. Waxed cheeses rarely face this issue.
4. Bitter flavour
Often a result of overuse of starter culture or poor drainage. Adjust your recipe next time and avoid too much pressing.
How to Use Aged Cheddar in Gourmet Cooking
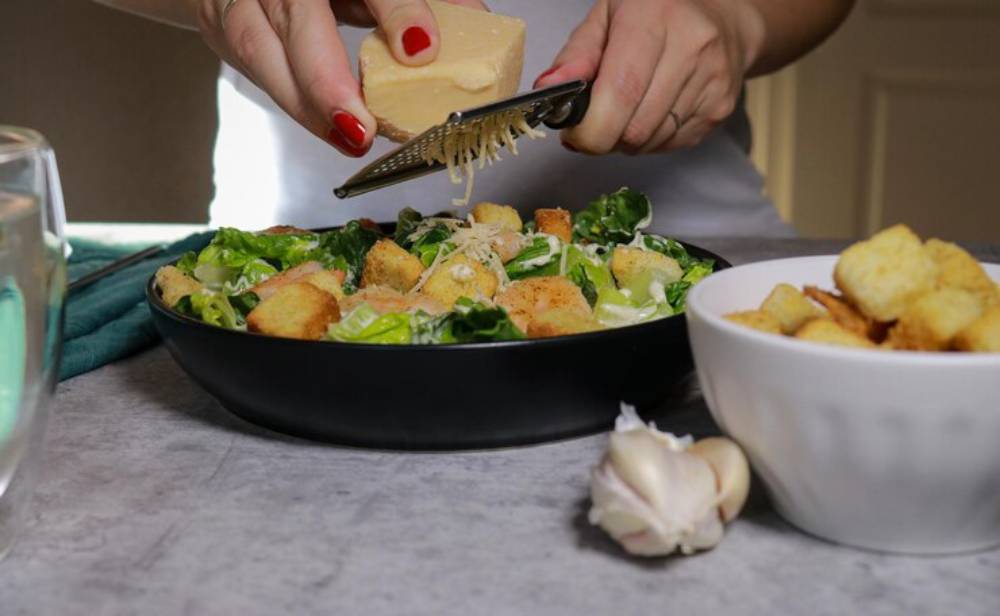
Once you’ve aged your cheddar to your liking, the real fun begins — eating it.
Pairings and serving ideas
- On a cheese board: With figs, walnuts, sourdough, and a drizzle of honey
- Grated over pasta: The bite adds depth to even simple dishes
- In sauces: Melt into béchamel or cheese sauce for an adult twist
- With cider or stout: Both highlight cheddar’s tangy notes
Homemade cheddar also makes a brilliant ingredient in a gourmet grilled sandwich — crisped buttered bread, a mix of young and aged cheddar, and a hint of caramelised onion.
If you’re experimenting with pasta sauces, pair it with flavour bases from our emulsion-based sauces guide to elevate your recipes even further.
Personal Insight: My First Ageing Journey
The first time I aged cheddar at home, I had no fridge thermometer, no cheese cave, and definitely no wax. I wrapped my tiny wheel in butter muslin, flipped it daily, and aged it in a plastic box in the corner of a chilly garage.
Three months in, I tasted it. It was decent. Six months later, it had developed proper character. By month nine, I was doling it out like fine whisky. Was it perfect? No. But it taught me more about food science, patience, and satisfaction than any recipe ever had.
Ageing cheese is a conversation between you, time, and bacteria. And sometimes, that’s exactly what your kitchen needs.
Conclusion: Ageing Cheddar at Home Is Worth the Wait
Creating your own aged cheddar isn’t a fast reward — it’s a journey of transformation, flavour, and quiet satisfaction. You start with warm curds and end with something full-bodied, assertive, and truly yours.
Whether you opt for a wax finish or a rustic rind, whether you age for three months or a full year, you’re not just making cheese — you’re crafting an experience, one week at a time.
Once you cut into a block of cheddar you’ve nurtured for six months or more, every bit of effort feels worth it. If you’re new to cheese-making, starting with something simple like burrata from scratch can ease you into the world of homemade cheeses before tackling long-ageing varieties like cheddar.
So, dust off that mini fridge, light your patience candle, and give cheddar a go. Your future self (and your cheese board) will thank you.
