How to Temper Chocolate Like a Pastry Chef
Elevate Your Chocolate Game
Picture biting into a chocolate truffle. It has a satisfying snap and a shiny surface that glimmers in the light. The taste? It melts in your mouth, leaving a wonderfully smooth finish. That magic? It’s all thanks to properly tempered chocolate.
Whether you’re making chocolate-dipped strawberries or hand-poured bars, tempering is the gateway to gourmet dessert skills. And no, you don’t need to be a chocolatier or own fancy kit. This guide will help you achieve glossy chocolate DIY results with precision, patience, and a little science.
Let’s break down chocolate tempering so you can bring that professional polish into your own kitchen.
Understanding the Science of Chocolate Tempering
Tempering is a method of heating and cooling chocolate to stabilise its cocoa butter crystals.
When done right, you get:
- A smooth, glossy finish
- A clean snap when broken
- Chocolate that stays solid at room temperature
Why Temper at All?
Untempered chocolate turns dull, streaky, or soft, especially in warm environments. It might still taste good, but it lacks the pro-level look and feel.
Science Check: Cocoa butter can crystallise in six forms, called polymorphs. However, only Form V gives you the perfect tempered finish.
Quick Guide: How to Temper Chocolate
- Choose couverture or high-quality chocolate (with at least 30% cocoa butter)
- Melt to the correct temperature (dark: 45–50°C, milk: 40–45°C, white: 38–43°C)
- Cool down using seeding or tabling methods to reach working temp (dark: 31–32°C, milk: 30–31°C, white: 28–29°C)
- Test for temper by dipping a knife or spoon
- Keep the chocolate at a working temperature while using it
Step-by-Step: How to Temper Chocolate Like a Chef
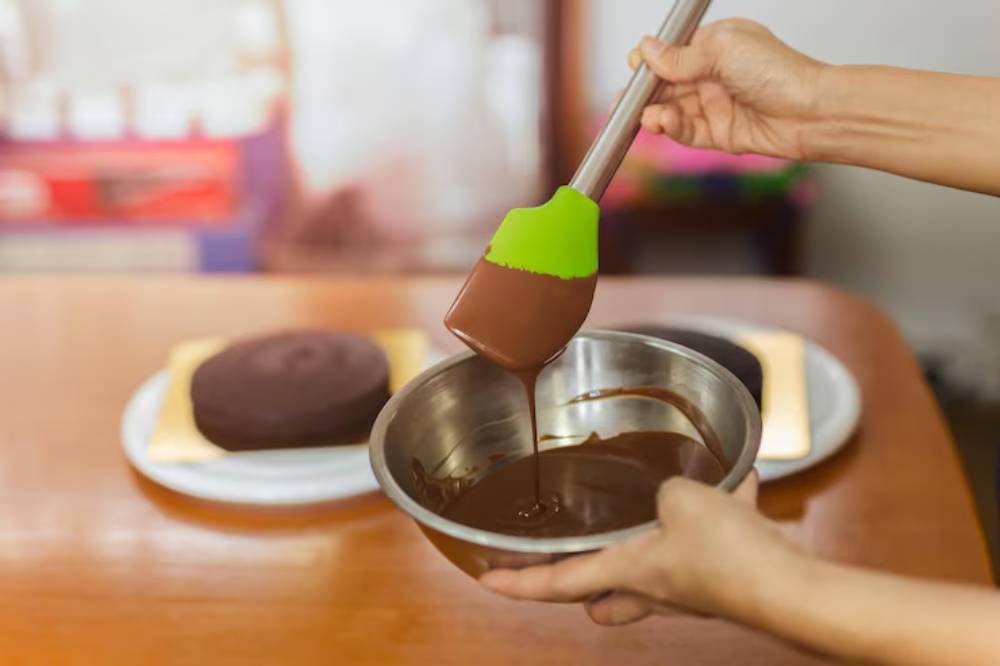
1. Start With the Right Chocolate
Use couverture or real chocolate that lists cocoa butter as an ingredient. Avoid baking chips or compound chocolate (which contains palm oil or vegetable fats).
Pro Tip: The better the chocolate, the better the temper. Don’t skimp if you’re aiming for a glossy finish.
2. Choose a Tempering Method
Seeding Method (Most Home-Friendly)
- Chop two-thirds of your chocolate and melt it gently in a heatproof bowl over a bain-marie or microwave.
- Once melted, stir in the remaining third (the “seeds”) to help bring down the temperature.
- Keep stirring until the chocolate cools to the working range.
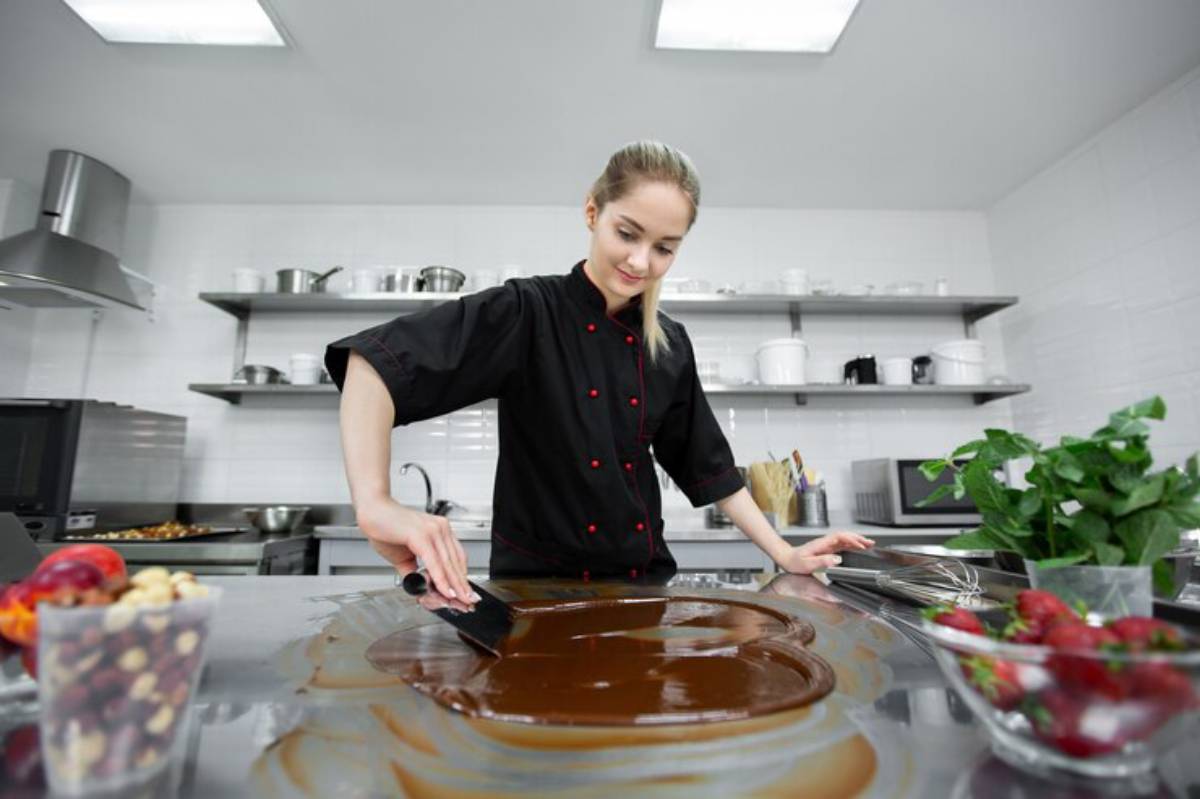
Tabling Method (Classic Pastry Chef Style)
- Melt all the chocolate, then pour two-thirds onto a marble slab.
- Use spatulas to move and cool the chocolate until it thickens slightly.
- Return it to the bowl with the remaining warm chocolate and stir to combine.
Important: Always use a reliable digital thermometer. Even 1°C off can affect your results.
3. Test the Temper
Dip a spoon or knife into the chocolate and leave it at room temperature for five minutes. If it sets firm, smooth, and glossy, it’s ready.
Secret Tip: If streaks or spots appear, your temper isn’t stable yet. Stir more or rewarm slightly.
4. Use and Maintain Tempered Chocolate
Work quickly. If your chocolate thickens, gently reheat using 5-second microwave bursts or over warm water—never overheat.
Warning: Even a drop of water can ruin your batch. Keep all tools bone dry.
5. Mould, Dip, and Decorate
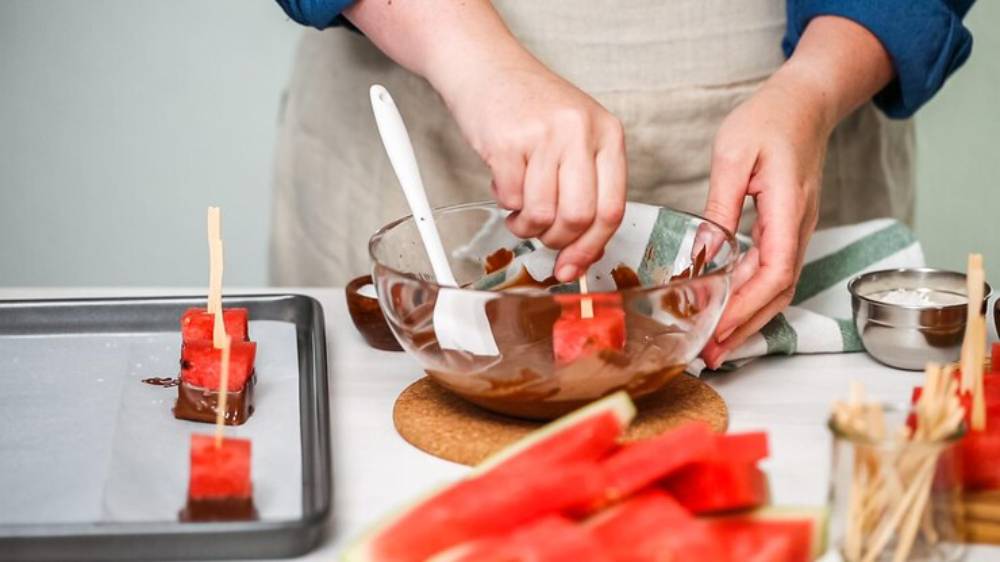
Use tempered chocolate for:
- Moulded bonbons
- Dipped fruits or biscuits
- Shiny chocolate shards or garnishes
- Chocolate bark and custom bars
Best Practices & Dessert-Side Wisdom
Keep It Simple at First
Start with dark chocolate, as it’s the most forgiving. White chocolate requires lower temperatures and more precision.
Control Your Environment
Avoid humid kitchens and aim for a cool, dry workspace. Chocolate is finicky—it reacts to everything.
Tools to Consider
- Digital thermometer
- Silicone spatulas
- Marble slab (for tabling)
- Squeeze bottles or dipping forks
- Heat gun (for smoothing surfaces)
Practice Makes Glossy
Tempering may seem hard at first. But with practice, you’ll notice the texture change. Soon, you’ll know when it’s ready—no thermometer needed.
To upgrade your pantry and equipment, browse our guide on the top must-have ingredients for a gourmet kitchen for essentials that support dessert success.
FAQs
Can I re-temper leftover chocolate?
Yes, just remelt and temper again. As long as it hasn’t burned or seized, chocolate is recyclable.
Why did my chocolate go grainy or thick?
It may have seized due to water exposure or overheating. Once seized, it can only be used in baking, not tempering.
What’s the best chocolate for beginners?
Dark couverture (around 60–70% cocoa) is ideal—it’s stable, delicious, and visually rewarding.
Do I need expensive tools to temper chocolate?
Not at all. A microwave, thermometer, and patience are more important than a marble slab.
How can I store tempered chocolate creations?
Keep them in a cool, dry place—not the fridge. Moisture causes blooming and dullness.
Can I temper chocolate without a thermometer?
Yes, but it takes experience. You’ll need to rely on visual cues, texture, and touch—making it less reliable for beginners.
How do I fix chocolate that blooms after tempering?
You’ll need to re-temper it. Bloomed chocolate is safe to eat, but it will look dull and have a chalky texture.
Can I temper chocolate in a microwave only?
You can, but you must heat in short bursts, stir constantly, and monitor the temperature closely to avoid overheating.
What is the difference between blooming and seizing?
Blooming happens when fat or sugar crystallises on the surface. Seizing occurs when chocolate thickens because of water or overheating.
Is tempered chocolate safe for people with dairy allergies?
Dark chocolate often contains no dairy, but always check labels—some brands add milk solids even to dark varieties.
From Home Baker to Glossy Dessert Pro
Tempering chocolate is part science, part rhythm, and all satisfaction. With some practice, your dipped strawberries, shards, and bonbons will look like they came from a Michelin-starred patisserie.
Mastering chocolate tempering not only enhances flavour and texture, but it turns your treats into works of art. And once you’ve nailed the process, you can layer in even more complexity with flavour infusions or textural contrasts.
If you want to take things further, explore our guide on how to make a gourmet tasting menu to pair your chocolate creations with a multi-course experience.
So melt, stir, cool, and shine—your glossy chocolate DIY journey begins now.
