Ricotta at Home: Easy Steps for Creamy Results
There’s a quiet kind of magic in transforming everyday milk into a soft, milky cloud of cheese. One moment, you’re stirring a pot; the next, you’re scooping out tender curds that melt in your mouth. This is the beauty of ricotta — simple, versatile, and surprisingly easy to make at home.
If you’ve never tried making cheese before, homemade ricotta is the perfect gateway. It requires no complex cultures, no special moulds, and absolutely no ageing. Just a few humble ingredients and a bit of kitchen curiosity. In this guide, you’ll discover not only how to make your own fresh ricotta recipe but also why it matters, how to use it creatively, and what mistakes to avoid.
Whether you’re on a journey into gourmet cheese DIY or just fancy something indulgent on your toast, this is your go-to ricotta guide. Let’s make something creamy.
What Exactly Is Ricotta?
A cheese with humble beginnings
The word ricotta means “recooked” in Italian, and that’s no accident. Traditionally, ricotta was made from leftover whey after making other cheeses. Instead of wasting it, cheesemakers reheated the whey, coaxing out the remaining proteins into a fluffy, fine-curded cheese.
Modern home cooks tend to use whole milk rather than whey for richer flavour and texture. But the spirit of ricotta remains the same: low effort, high reward.
Why make it yourself?
Shop-bought ricotta has its place, but it often lacks the depth and creaminess of the fresh version.
When you make it at home, you:
- Control the flavour, salt, and texture
- Use better quality, local milk
- Skip additives or stabilisers
- Create a more luxurious, scoopable cheese
Plus, it’s quick — 30 minutes from start to finish.
What You Need to Make Homemade Ricotta
Simple ingredients, big flavour
For a batch that serves 3–4:
- 2 litres of whole milk (non-UHT and preferably unhomogenised)
- 250 ml double cream (optional for creamier results)
- 3 tablespoons white vinegar or lemon juice
- ½ teaspoon fine salt
Note: Organic milk tends to yield better flavour, and using lemon juice imparts a subtle citrus note.
Kitchen essentials
You likely have these already:
- Heavy-bottomed pot
- Digital thermometer (helpful but not essential)
- Fine mesh sieve or colander
- Cheesecloth or a clean tea towel
- Slotted spoon or ladle
- Large bowl
That’s it — no rennet, no ageing, no fuss.
The Ricotta-Making Process, Explained
Rather than a rigid tutorial, let’s walk through what’s really happening and why it matters.
Heating the milk
Gently warm your milk (and cream, if using) over medium heat to about 85–90°C. Stir occasionally to prevent scorching. This temperature is key — hot enough to trigger curdling, but not boiling.
Adding the acid
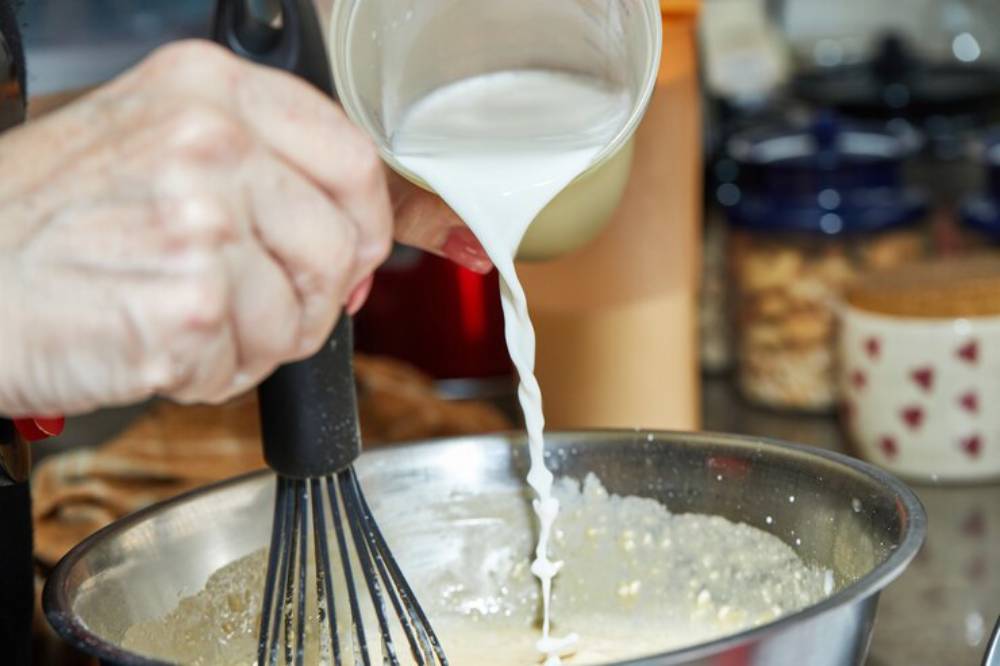
Once you’ve hit the right heat, remove from the hob and pour in your vinegar or lemon juice. Stir once or twice — gently — then leave it alone. Within a minute, you’ll see soft curds separating from the whey.
If nothing happens, give it a bit more acid. Some milks are less reactive and need a nudge.
Draining and setting
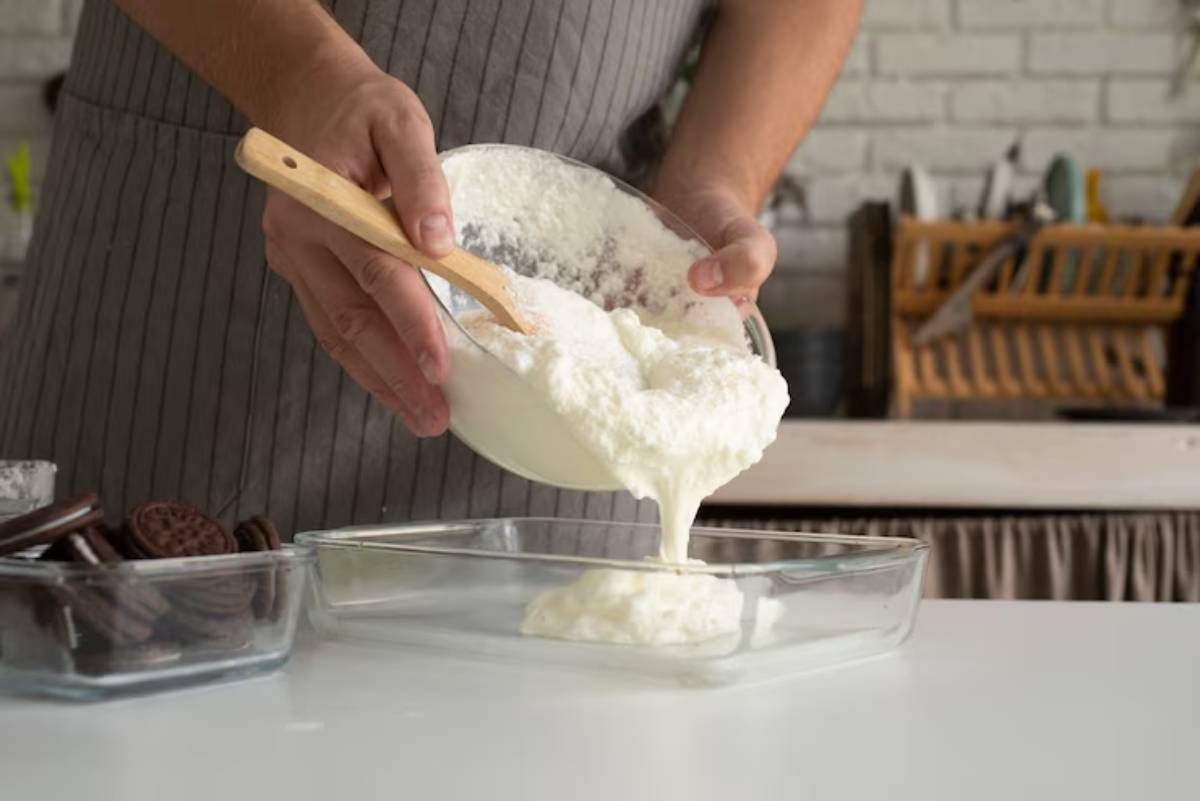
Let the mixture sit for 10 minutes. Then, ladle the curds into your cloth-lined sieve, set over a bowl.
- For loose ricotta, drain for 5–10 minutes.
- For thicker curds, go for 15–20 minutes.
Taste and salt it at the end — salting too early can toughen the texture.
Tips from Experience: How to Get Creamy, Fluffy Ricotta
Choose quality milk
Milk is the soul of this cheese. Seek out non-homogenised, organic whole milk if possible. Avoid ultra-pasteurised (UHT) varieties — they’ve been heated so intensely that the proteins can’t form proper curds.
Don’t over-stir
Once the curds begin to form, back away from the spoon. Stirring too much can break them down into grainy bits. You want to preserve that pillowy texture.
Adjust your acid
Vinegar produces a slightly firmer curd with a cleaner flavour, while lemon juice adds creaminess and brightness. Try both and see which you prefer.
Use the whey!
Don’t toss the leftover whey — it’s full of protein and can be used in bread, soups, smoothies, or even as a cooking liquid for pasta.
How to Serve Homemade Ricotta
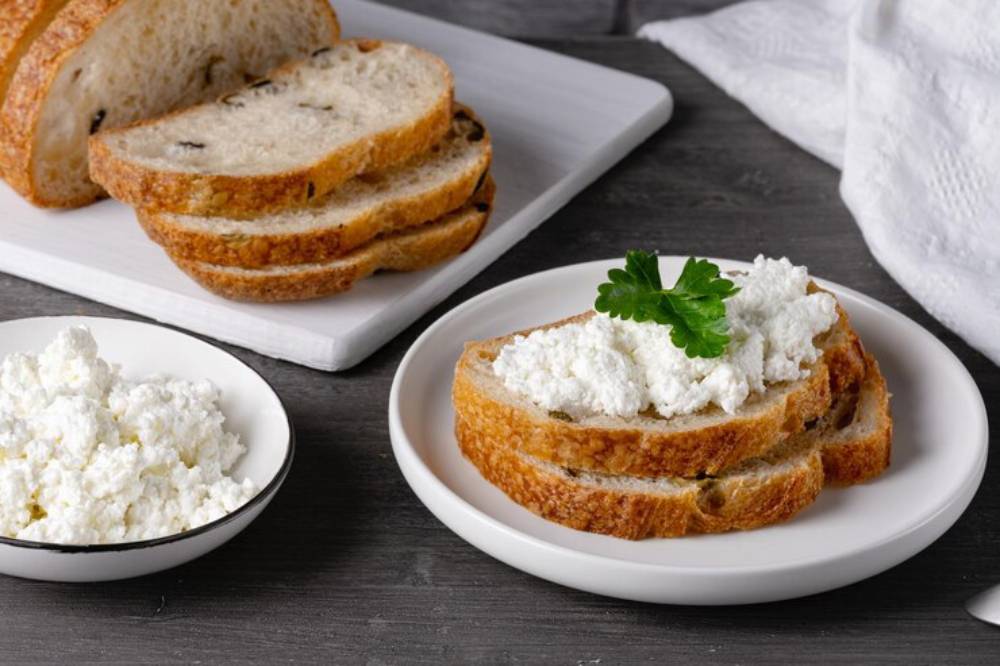
Once you’ve made it, the possibilities are endless. Its soft, spreadable nature means it plays well in both sweet and savoury dishes.
Breakfast ideas
- Spread on toasted sourdough with honey and pistachios
- Dolloped onto porridge with seasonal fruit
- Stirred into pancake or waffle batter for added richness
Savoury dishes
- Stuff into cannelloni or ravioli
- Spoon over roasted vegetables
- Use as a base layer for tartines with tomatoes, herbs, or anchovies
Baking and desserts
- Mix into the cheesecake batter
- Swirl through lemon curd tarts
- Serve with roasted figs and a drizzle of balsamic glaze
For a more advanced take, it’s an ideal filling for stuffed pasta — a brilliant next step after mastering ricotta.
Explore this stuffed pasta masterclass if you’re curious about elevating your homemade cheese into a full gourmet experience.
How Long Does Homemade Ricotta Last?
Fresh ricotta is best eaten the day it’s made, while still warm and milky.
However, you can:
- Store it in an airtight container in the fridge for up to 3 days
- Avoid freezing — it tends to break down and lose its creamy texture
If you need to prep ahead, you can make the curds and refrigerate them undrained. When ready to serve, let them drain just before use for that just-made texture.
Common Mistakes and How to Avoid Them
Mistake 1: Grainy texture
Usually caused by over-stirring or overheating. Keep a gentle hand and don’t exceed 90°C.
Mistake 2: No curds forming
Check your milk (avoid UHT), your acid (use enough), and your temperature (it must be hot enough). Also, don’t panic — curds often need a couple of minutes to appear.
Mistake 3: Ricotta tastes too tangy
You might have used too much acid or let it sit too long. Stick with the suggested 3 tablespoons per 2 litres of milk and adjust only if needed.
Why Ricotta Deserves a Place in Your Cheese DIY Repertoire
Ricotta might be simple, but it teaches you the fundamentals of cheese-making:
- The interaction of milk proteins and acid
- The importance of temperature
- How texture responds to time, handling, and ingredients
It’s a small but powerful confidence builder. And once you’ve got this down, other soft cheeses — even burrata or mascarpone — suddenly feel within reach.
You might even find yourself assembling your own artisan cheese-making toolkit, using ricotta as the stepping stone. The full guide to cheese-making equipment breaks it down simply if you’re ready to expand your setup.
Conclusion: Start Simple, Create Something Stunning

Making ricotta from scratch isn’t just a kitchen project — it’s an experience. It slows you down. It reconnects you with the origins of your food. And it turns a few humble ingredients into something rich, generous, and infinitely customisable.
Whether you’re layering it into lasagne, spreading it on toast, or simply spooning it up warm with a pinch of sea salt, there’s something deeply satisfying about saying, “I made this.”
So go on — put on the kettle, grab some milk, and try it for yourself. Your kitchen is closer to Italy than you think.
