Tools You Need for Home Cheese-Making
There’s a particular kind of joy in creating something from scratch — especially when that something is a wheel of creamy brie, a wedge of sharp cheddar, or a bowl of warm, soft ricotta. Home cheese-making isn’t just a hobby; it’s a craft, a science, and frankly, a little bit of magic. But before you start dreaming about your first ageing cave or layering cultures like a pro, there’s one crucial question: do you have the right tools?
Whether you’re eyeing your first batch of mozzarella or looking to upgrade your existing setup, understanding the cheese making equipment you need is the first step. It’s not about collecting the fanciest gear — it’s about knowing what actually matters, what improves your outcomes, and what makes the process smoother (and more enjoyable).
This guide will walk you through every essential tool in a solid DIY cheese setup, from basics to helpful add-ons. Along the way, we’ll share real-use insights, practical tips, and clear reasons why each tool earns its place in your cheese-making journey. If you’re serious about creating your own artisan cheese, your toolkit starts here.
Why Having the Right Cheese-Making Tools Matters
It’s not just about convenience — it’s about control
Cheese-making relies on precise temperatures, accurate measurements, and consistent timing. Unlike throwing together a stew or baking a rustic loaf, cheese needs you to play scientist as much as cook.
The wrong tools can mean:
- Curds that never set properly
- Milk that scorches or cools too quickly
- Batches that fail without a clear reason
With the right equipment, you’re not just following a recipe — you’re replicating a reliable method. And that’s what makes the difference between a one-off success and repeatable, delicious results.
Start small, build gradually
If you’re just beginning, you don’t need to spend hundreds of pounds on specialist gear. In fact, many tools can be found in a standard kitchen. But as your ambitions grow, investing in artisan cheese tools can take your craft to the next level, especially if you’re moving toward ageing or hard cheese production.
Core Cheese-Making Equipment for Every Beginner
These essentials form the backbone of any cheese-making setup. They’ll help you manage your milk, control your curds, and complete the process cleanly.
Large Stainless-Steel Pot
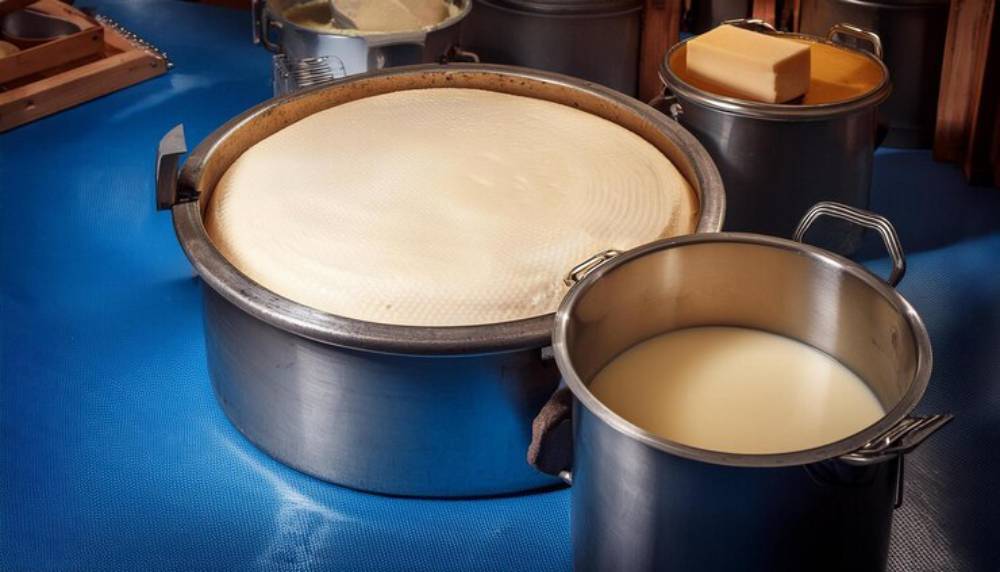
- Why it’s essential: Holds your milk and allows for even heating without reacting to acidity.
- Look for: A capacity of at least 6–8 litres and a heavy base to avoid scorching.
- Tip: Avoid aluminium pots — they react poorly with acidic ingredients and can affect flavour.
Digital Thermometer
- Why it’s essential: Cheese-making depends on precise temperatures at every stage.
- Look for: A probe-style or clip-on digital thermometer with a quick response time.
- Ideal range: Must cover at least 20°C to 100°C.
Without accurate temperature control, you’ll struggle to nail recipes like cheddar or mozzarella, where curd formation hinges on just a few degrees’ difference.
Slotted Spoon or Ladle
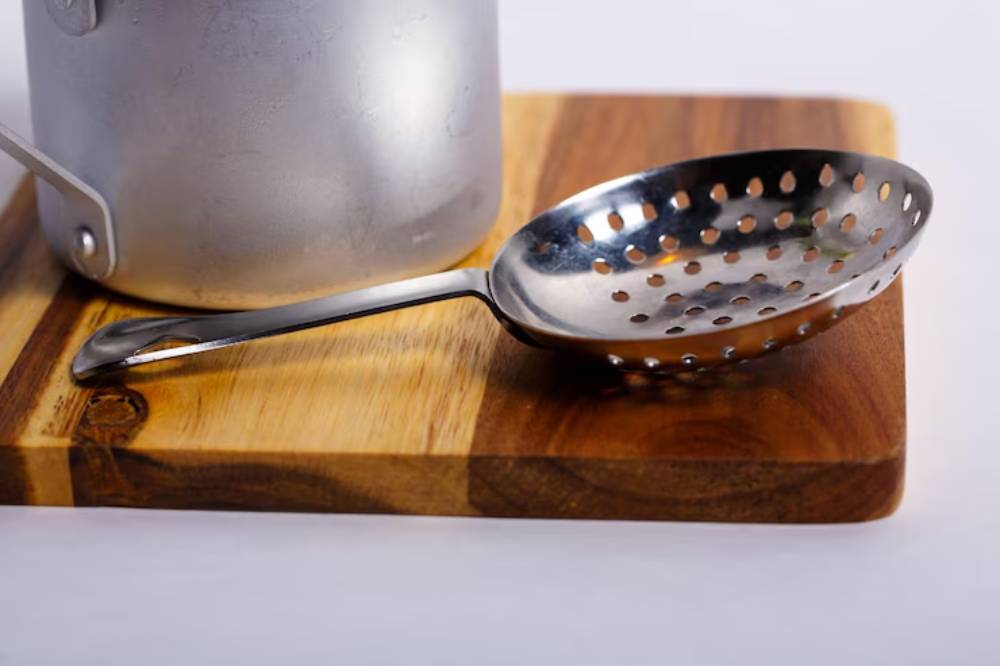
- Why it’s essential: Gently lifts curds without breaking them apart.
- Look for: Stainless steel or heat-resistant plastic with wide holes for drainage.
- Tip: Use a separate one from your regular kitchen spoon to avoid cross-contamination.
Tools That Improve Texture and Precision
As you dive deeper into cheese-making, these tools will help refine your process and improve consistency.
Cheese Moulds
- Why it’s essential: Shapes the curds and allows for whey drainage in aged and hard cheeses.
- Types: Basket moulds for soft cheeses, cylinder or block moulds for aged cheeses.
- Look for: BPA-free, food-safe plastic with open sides for airflow and drainage.
If you’re working on projects like aged cheddar, a sturdy mould is non-negotiable. You’ll see it referenced often in advanced recipes such as creating your own aged cheddar.
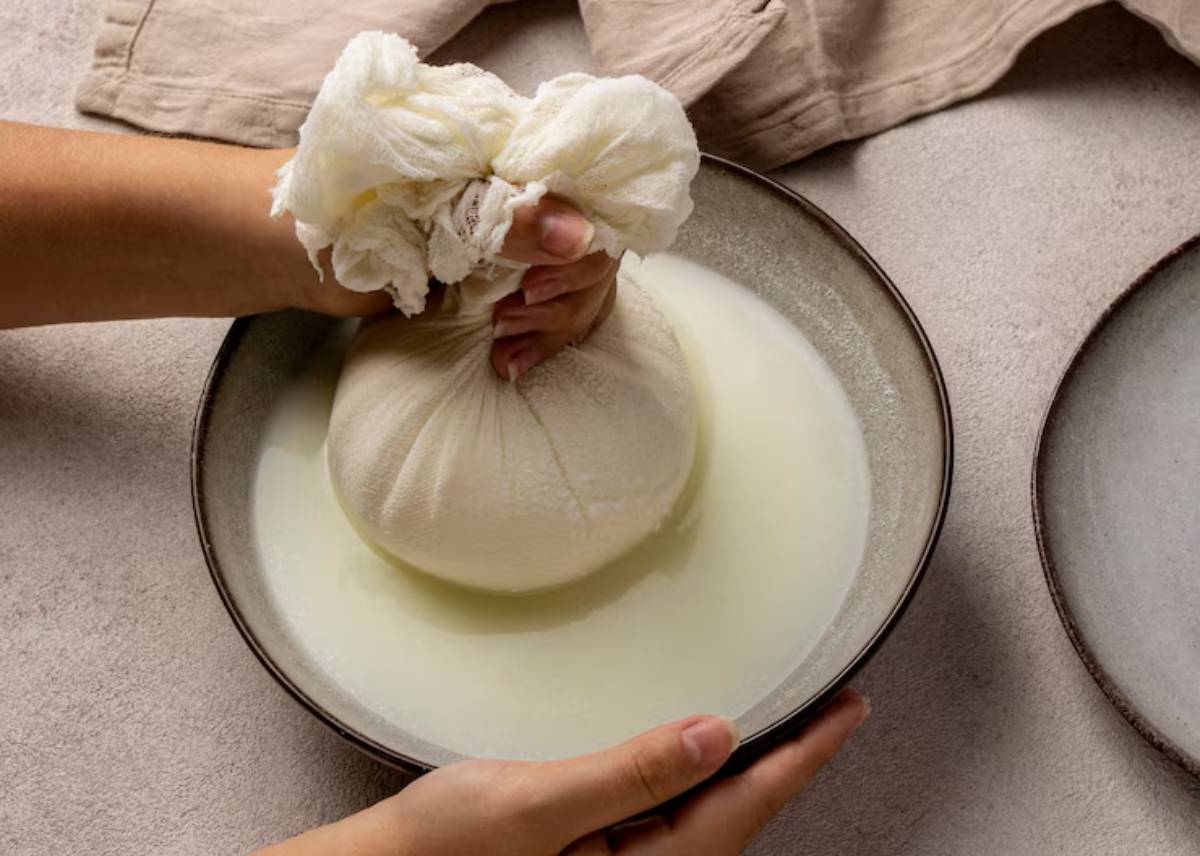
Cheesecloth or Butter Muslin
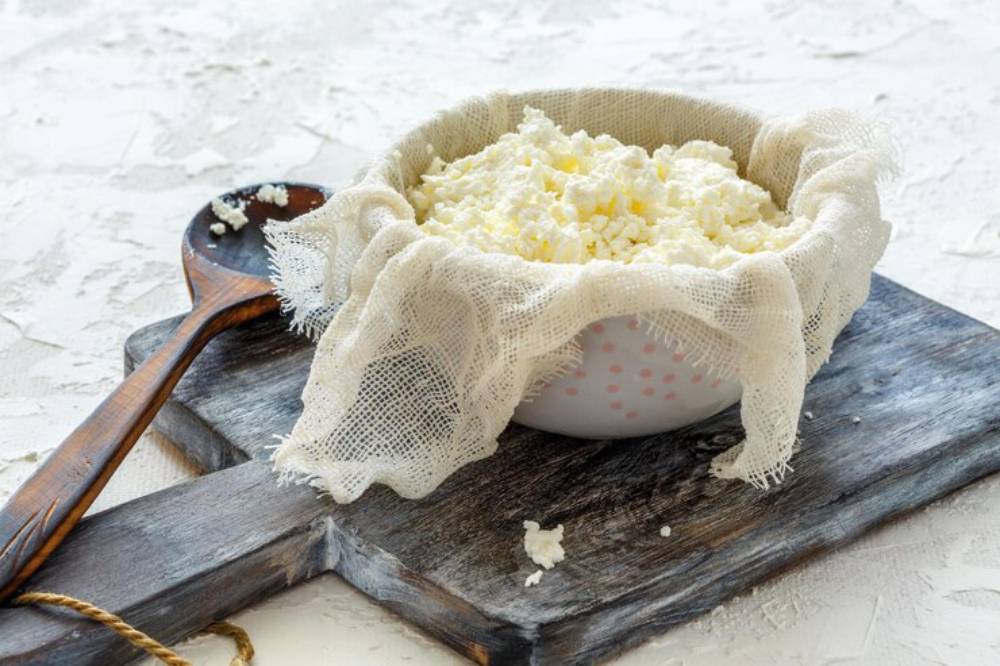
- Why it’s essential: Drains curds while retaining their structure.
- Difference: Cheesecloth is looser and suited to larger curds; butter muslin is tighter for fine, creamy cheeses like ricotta.
- Tip: Wash and reuse — but dedicate a cloth solely for cheese-making.
Cheese Press (for Hard Cheeses)
- Why it’s essential: Applies consistent pressure to form hard cheeses and eliminate whey.
- Manual vs. spring-loaded: Manual presses offer more control; spring presses are beginner-friendly but less precise.
- DIY tip: Some home cheesemakers fashion their own from clean bricks and boards, but commercial models improve consistency.
Supplies You’ll Replenish Regularly
These aren’t tools per se — but they’re vital ingredients you’ll return to again and again.
Starter Cultures
- Why it’s essential: Introduces the good bacteria that acidify the milk and create flavour.
- Types:
- Mesophilic: Ideal for cheeses like Gouda, cheddar, and cream cheese.
- Thermophilic: Needed for mozzarella, provolone, and other high-temp cheeses.
- Buy freeze-dried: They store well and can be used in exact measurements.
Rennet
- Why it’s essential: Coagulates milk into curds.
- Types:
- Animal: Traditional and effective, especially for aged cheeses.
- Vegetarian/Microbial: Suitable for plant-based needs, though some purists say it affects flavour in long-aged cheeses.
- Form: Liquid rennet is easier to measure; tablets last longer in storage.
Calcium Chloride (if using pasteurised milk)
- Why it’s useful: Replaces calcium lost in pasteurisation to help milk set properly.
- How to use: Add before rennet when using store-bought milk.
Optional — but Brilliant — Add-Ons for Your DIY Cheese Setup
These aren’t essential, but they make life easier and your results more polished.
pH Meter or pH Strips
- Why it helps: Tracks acidity, which is key to cheese flavour, texture, and safety.
- Useful for: More complex cheeses like blue cheese or long-aged varieties.
- Tip: pH strips are cheaper, but digital meters are more precise.
Wax and Brush
- Why it helps: Coats hard cheeses for ageing, preventing moisture loss and contamination.
- Alternative: Some homemakers vacuum-seal instead, but waxing is traditional and gives a rustic finish.
Keeping It Clean: Sanitation Is Non-Negotiable
Cheese-making creates the perfect environment for microbial activity — both good and bad. Clean tools = better cheese.
Sanitising basics:
- Wash all tools in hot, soapy water, then rinse with boiled or sanitised water
- Air dry everything on a clean towel
- Avoid strong detergents or scented soaps that could leave residue or flavour
Contamination can ruin a batch quickly, especially in aged cheeses, where unwanted moulds can take hold during storage.
Building Your Setup Over Time
You don’t need everything at once. Many people start with just a thermometer, pot, and muslin, and create something truly delicious like homemade ricotta.
As you grow more confident, you’ll begin identifying what will make your cheese-making smoother, safer, and more fun.
Here’s how to scale up:
- Begin with soft cheeses: Ricotta, cream cheese, chèvre
- Add moulds and presses: For semi-hard cheeses like Gouda or Cheddar
- Create an ageing space: Invest in a mini fridge or cheese cave for long projects
- Track your process: Keep a cheese logbook with temperatures, curd firmness, and ageing notes
Mistakes to Avoid When Buying Cheese-Making Tools
Overbuying from the start
You don’t need an entire kit to begin. Focus on quality over quantity. Get a reliable thermometer and a solid pot — you’ll learn the rest as you go.
Using multitask kitchen tools
Avoid using your pasta pot or soup ladle for cheese-making. Cross-flavours, residues, and even detergent traces can affect cheese outcomes.
Skipping sanitation
No matter how high-end your gear, it won’t matter if it’s not clean. Always sanitise before and after use.
Conclusion: The Right Tools Make Better Cheese (and Better Cheesemakers)
Making cheese at home is a deeply rewarding process. It brings science and art together in a way that few kitchen activities do. But to make cheese that’s not only edible but exceptional, you need the right tools.
You don’t need to go overboard or splash out on every gadget. Start with the essentials: a good pot, a reliable thermometer, and a clean workspace. Build from there. Add what you need based on what you love to make. And most importantly, enjoy the process — from first curd to final bite.
So grab your spoon, warm the milk, and begin. With the right cheese-making equipment, the possibilities are almost endless.

