Spherification Techniques Using Agar
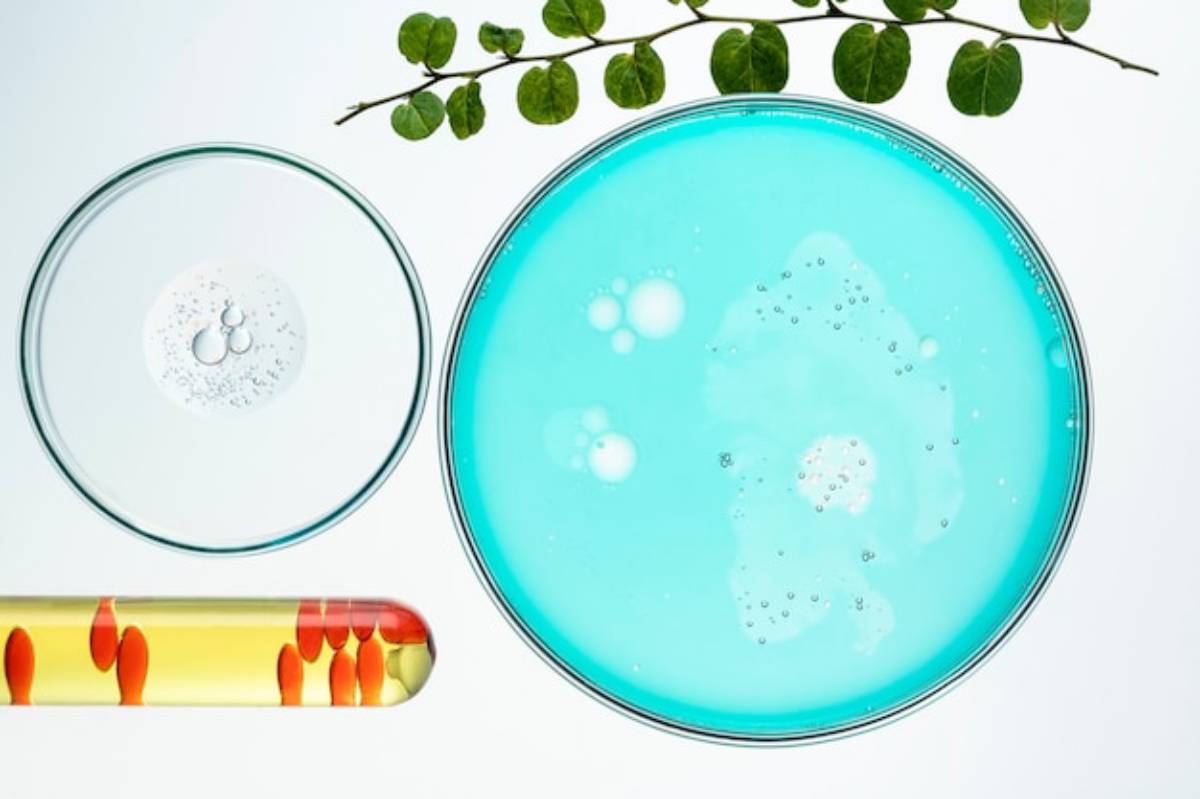
It’s magical to see clear liquid change into shiny, bite-sized spheres that burst with flavour in your mouth. This is spherification — a key molecular gastronomy technique — and with agar on your side, you don’t need a chemistry lab to bring it into your kitchen.
If you’re curious about the blend of science and art in cooking, using agar for spherification is a must-try. It’s easy to use, full of creativity, and a great way to impress guests or upgrade your weekday meals.
In this guide, you’ll discover agar spherification. You’ll see how it works and what ingredients and tools you need. Plus, learn to use it in sweet and savory dishes from your home kitchen.
What Is Agar Spherification?
The Basics Behind the Technique
Spherification is a molecular gastronomy method used to turn liquids into gelled spheres. These spheres look and feel like caviar. They can taste like anything, from strawberry juice to balsamic vinegar.
There are two types of spherification: basic (using sodium alginate and calcium) and reverse. Agar spherification, however, operates a little differently. Rather than relying on a calcium bath, it uses a heat-activated process — ideal for firmer, heat-tolerant results.
Why Agar?
Agar agar is a plant-based gelling agent derived from red algae. It’s popular in vegan and vegetarian cooking and sets more firmly than gelatine, making it ideal for clear-cut spheres that hold their shape.
Agar spheres are perfect for:
- Warm or acidic liquids where sodium alginate fails
- Toppings for desserts, soups, or cocktails
- Making firm, jelly-like beads that won’t dissolve quickly
What You’ll Need for DIY Agar Spheres
Essential Ingredients
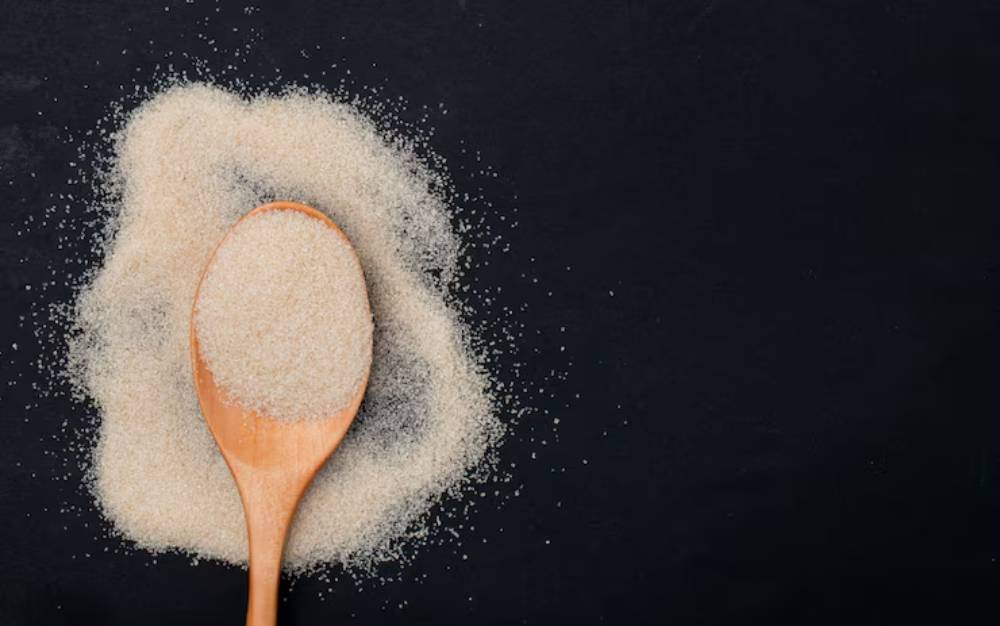
- Agar Agar Powder – Make sure it’s food-grade
- Liquid Base – Juice, broth, purée, or flavoured water
- Neutral Oil – Chilled vegetable oil, used to shape the spheres
- Water – For diluting or adjusting the texture if needed
Your base liquid must be strainable and smooth. If it’s too thick or pulpy, your spheres won’t form properly.
Kitchen Equipment
- Syringe or Dropper – To create uniform drops
- Saucepan – For boiling the agar mixture
- Measuring Scale – Precision is key
- Bowl of Chilled Oil – Pre-cooled in the fridge or freezer
- Fine Sieve or Slotted Spoon – For retrieving the spheres
Most of these are likely already in your kitchen — and if not, affordable alternatives are easy to source online or in baking supply shops.
How Does the Science Work?
A Quick Chemistry Lesson
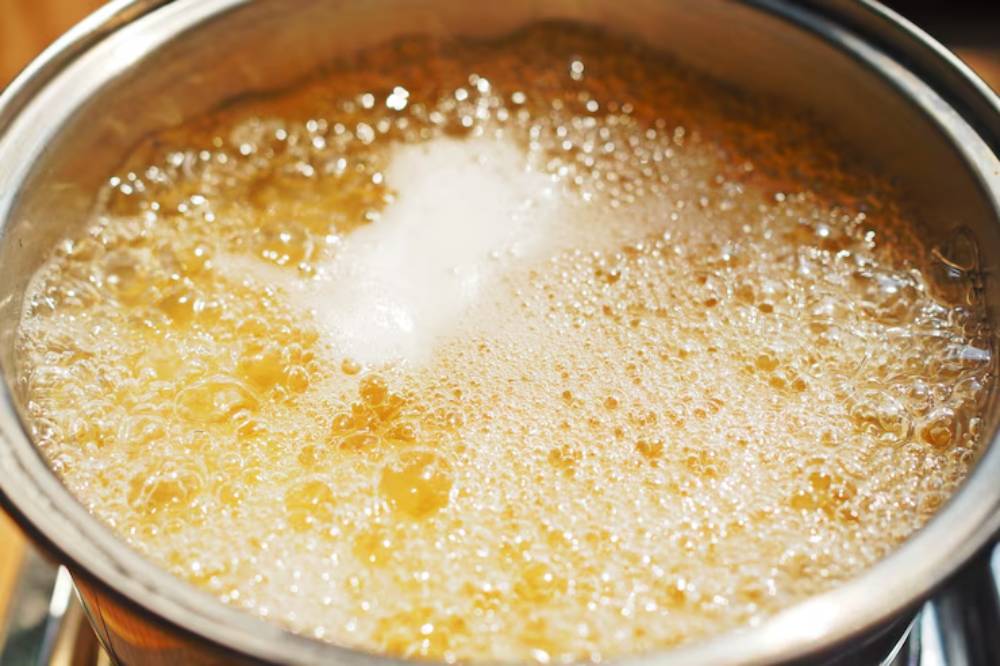
Agar sets upon cooling rather than relying on a chemical reaction with calcium, unlike sodium alginate. Once your agar-liquid mixture is boiled and dropped into cold oil, it rapidly cools, forming a thin skin that locks the shape.
As each droplet enters the cold oil, it gels from the outside in — producing a smooth, spherical casing with a slightly softer centre.
This process works best with acidic bases like lemon juice or wine reductions. These can often destabilise traditional spherification.
The Role of Oil Temperature
The oil must be very cold — ideally just above freezing — to ensure immediate setting. Too warm, and your spheres may flatten or become misshapen. If you’re in a hot kitchen, consider keeping your oil bowl on a bed of ice.
Flavour Pairing Ideas for Agar Spheres
Now that you understand the technique, let’s talk about flavour. The versatility of agar allows for both bold and subtle flavour infusions.
Here are a few ideas to get you started:
Sweet Applications:
- Mango spheres over coconut panna cotta
- Raspberry spheres atop white chocolate mousse
- Coffee pearls for an espresso martini garnish
Savoury Applications:
- Balsamic vinegar beads on tomato bruschetta
- Cucumber and dill spheres in a chilled gazpacho
- Soy sauce pearls for sushi or ramen bowls
The beauty of this technique is that you can customise spheres to match any dish, adding not only a flavour punch but also a modern visual twist.
Real-Life Scenarios: From Dinner Parties to Date Nights
Let’s say you’re hosting a summer dinner party. You’ve got a chilled cucumber soup on the menu. Rather than the usual chopped herbs, you serve it with delicate lemon spheres that gently pop with citrus when your guests take a spoonful.
Or picture a date night. You make a simple vanilla panna cotta, but crown it with elderflower spheres that shimmer like pearls. That little touch turns an everyday dessert into a memorable moment.
These aren’t just recipes — they’re edible experiences.
If you’re experimenting with gourmet hosting, learning how to host a restaurant-style dinner at home can help you incorporate agar spheres and other molecular elements seamlessly.
Common Mistakes and How to Avoid Them
Mistake 1: Oil Too Warm
Fix: Chill the oil in the freezer for at least 30 minutes before using it.
Mistake 2: Dropping Too Fast
Fix: Use a syringe or small pipette and go slowly. Let each drop fall separately to avoid clumping.
Mistake 3: Agar Ratio Off
Fix: Follow a standard ratio of around 1g of agar per 100 ml of liquid. Adjust slightly based on the base liquid’s thickness.
Mistake 4: Using Carbonated or Alcoholic Liquids
Fix: These can interfere with the setting. Either boil off the alcohol or dilute carbonated liquids before use.
Mistake 5: Oil Residue on Spheres
Fix: After collecting spheres, rinse them gently in cold water to remove any oil film.
Agar Spheres vs. Traditional Spherification
You might wonder how agar compares with more traditional alginate-based methods.
Here’s a quick breakdown:
| Feature | Agar Spherification | Sodium Alginate Spherification |
| Works with Acidic Liquids | Yes | Often fails |
| Requires Cold Oil | Yes | No |
| Gelling Time | Immediately upon cooling | Requires a setting time in a bath |
| Texture | Firmer, jelly-like | Soft, burst-in-the-mouth |
| Vegan-Friendly | Yes | Yes |
For beginners, agar is a great starting point due to its predictability and the fact that it doesn’t rely on finicky chemical reactions.
Advanced Tips for the Ambitious Cook
If you’ve mastered basic spheres and want to push further, here’s how:
Colour Coding
Use natural colourants like beetroot, turmeric, or spirulina to match or contrast your dish visually.
Dual-Layer Spheres
Make one flavour, chill it into a ball, then coat it in a second agar mix to create multi-layered bites.
Spherical Garnish Boards
For a dramatic presentation, scatter various flavour spheres across a slate board or marble slab. It’s a guaranteed conversation starter.
Need help with planning the full visual impact? Understanding colour theory in gourmet presentation will enhance how your spheres interact visually with the plate.
Is Agar Spherification Safe and Sustainable?
Absolutely. Agar is:
- Plant-based and vegan-friendly
- Free from major allergens
- Low in calories and odourless
- Widely used in both home and commercial kitchens
Because you only need a small amount per recipe, it’s also cost-effective and easy to store in powder form.
Look for high-quality, food-grade agar agar from trusted culinary suppliers. Always check the label for purity — avoid those with added sugar or flavourings unless you specifically want them.
Conclusion: A Sphere of Your Own
Learning how to create spheres using agar opens the door to playful, elegant, and sensory cooking at home. It’s not just about technique — it’s about creativity. With a little precision and a sense of adventure, you can add molecular flair to everyday meals and elevate your hosting game.
Use spherification to elevate your meals. Top salads with balsamic pearls or wow guests with lychee spheres in cocktails. It’s a fun way to create modern, memorable dishes.
So go ahead — pick a flavour, heat your agar, chill your oil, and drop your first sphere. You’re officially cooking in 3D.
Ready to roll up your sleeves? Your gourmet science kitchen awaits.
