How to Make Foams & Espumas at Home
There’s something theatrical about a spoonful of foam. It hovers lightly on the surface of a dish, gently melting into it, not just visually appealing, but packed with flavour too. This is the magic of culinary foams and espumas. Once the exclusive flair of Michelin-starred kitchens, they’re now surprisingly accessible to home cooks.
Maybe you’ve seen a beetroot foam topping a creamy soup, or a citrus espuma crowning a dessert. And perhaps you thought, “That looks complicated.” But here’s the truth: with a few simple tools and the right know-how, you can create your own gourmet foaming method at home — no chef whites required.
In this guide, we’ll explore what foams and espumas are, how they’re made, when to use them, and how to get started. You’ll also find flavour ideas, expert tips, and a deeper understanding of how to use this technique to elevate the dishes you already love to cook.
Understanding Foams and Espumas
What Are Culinary Foams?
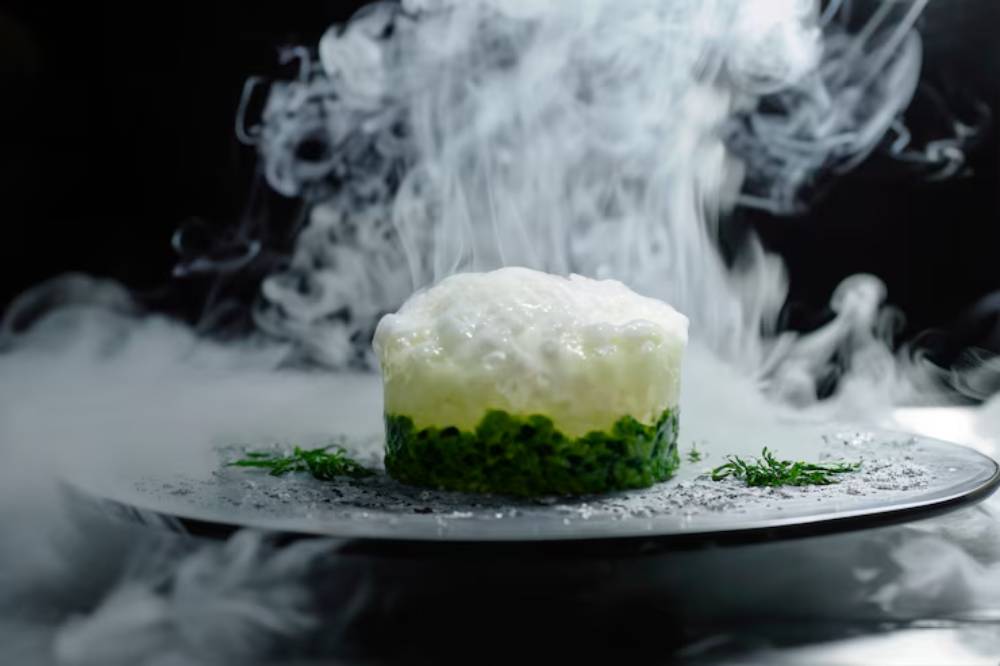
Culinary foams are simply aerated liquids — transformed into delicate bubbles through whipping, pressure, or emulsification. They bring both texture and concentrated flavour to the plate without adding heaviness.
Foams are used across both sweet and savoury cooking.
The difference is in consistency:
- Foams: Generally lighter and more delicate, sometimes spoonable
- Espumas: Spanish for “foam”, but often refers to thicker foams created using a siphon
Why Are Chefs So Obsessed with Them?
Foams are more than fancy bubbles.
They:
- Intensify flavour by isolating it in an airy form
- Add drama and height to plated dishes
- Deliver mouthfeel variety, contrasting dense or creamy textures
- Incorporate aroma, which boosts how you perceive taste
When used purposefully — not as decoration — they enhance a dish in a memorable, multi-sensory way.
The Science Behind the Bubbles
Air + Liquid + Stabiliser
At its core, a foam needs three things:
- A base liquid: This could be anything flavourful — stock, fruit juice, cream, etc.
- Air: Introduced by whisking, blending, or using a siphon
- A stabiliser: To keep the bubbles from collapsing (more on this shortly)
When these elements come together, the liquid traps tiny pockets of air, forming a foam. But not all liquids behave the same way. That’s where understanding your ingredients becomes crucial.
Choosing the Right Base
Your base liquid needs to be:
- Flavourful: The foam concentrates on whatever you start with
- Smooth: Pulpy or fibrous mixtures won’t foam properly
- Balanced: Acids and fats impact the stability — sometimes you’ll need to adjust them
Examples include:
- Carrot-ginger juice
- Coconut cream
- Parmesan-infused milk
- Chocolate ganache
- Raspberry purée
A touch of salt or acidity can help sharpen flavours, especially in savoury foams.
Tools You’ll Need for Foaming Success
You don’t need a restaurant budget to get started. Many tools are already in your kitchen, or easy to source affordably.
Essential Tools
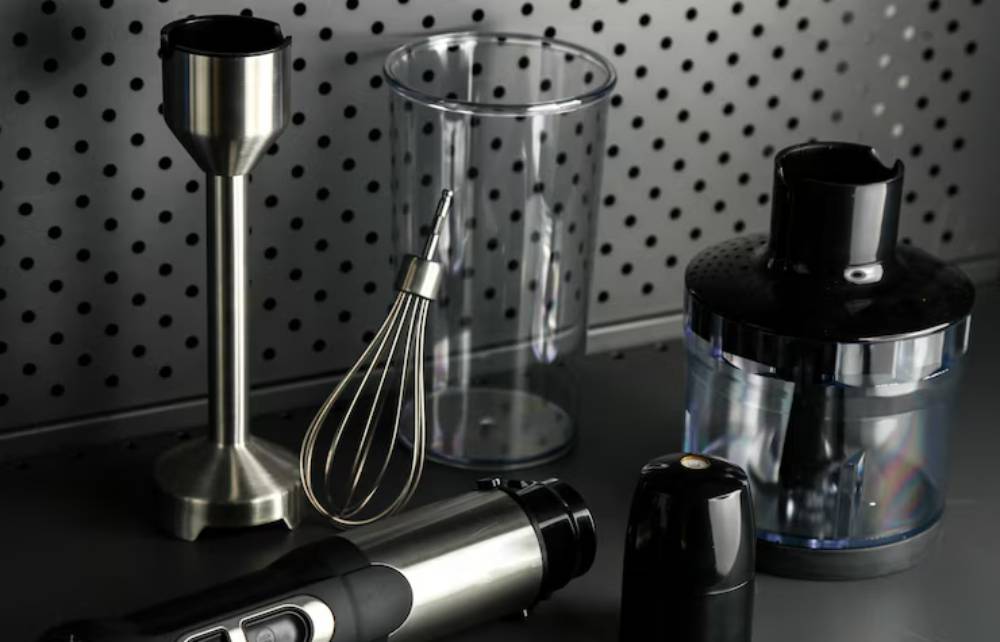
- Immersion Blender (Stick Blender) – For basic foams and quick aeration
- Whipping Siphon (Cream Whipper) – Creates rich, pressurised espumas
- Fine Mesh Sieve – Ensures smoothness in your mixture before charging
- Measuring Scale – Precision matters when working with stabilisers
- Spoons or Piping Nozzles – For plating or applying the foam
If you’re already exploring spherification techniques using agar, you’ll likely have many of these on hand.
Meet Your Stabilisers: The Foam’s Best Friends
Without stabilisers, your foam may collapse in seconds. These ingredients help hold the structure while staying food-safe.
Commonly Used Stabilisers
| Stabiliser | Best For | Notes |
| Lecithin | Light foams, cold dishes | Derived from soy or egg yolks |
| Xanthan Gum | Warm and thick foams | Neutral taste, thickens slightly |
| Gelatine | Thick foams, espumas | Not vegan; needs warm base |
| Agar Agar | Vegan hot espumas | Sets firm when cooled |
| Cream | Rich espumas, desserts | Whips naturally without additives |
Stabilisers are often used in very small amounts (think fractions of grams), so a digital scale is your friend.
Popular Flavour Pairings and Applications
Here’s where creativity kicks in. Whether you’re plating a special dinner or adding excitement to a midweek meal, foams bring surprise and sophistication.
Savoury Ideas
- Mushroom foam over risotto
- Beetroot espuma on goat cheese crostini
- Lemon-thyme foam to cut through grilled fish
- Parmesan espuma for a twist on carbonara
- Pea and mint foam on warm soup
Sweet Applications
- Passionfruit foam with vanilla panna cotta
- Earl Grey tea foam over chocolate mousse
- Espresso espuma on tiramisu
- Strawberry-balsamic foam for shortcakes
- Salted caramel foam on top of brownies
Want to take the plating to the next level? Mastering colour theory in gourmet presentation helps align your foam’s visual appeal with the rest of the dish.
Creating a Foam That Lasts
Tips for Long-Lasting Results
- Strain well – Any residue can clog your siphon or ruin the texture
- Charge correctly – One N₂O cartridge per 500ml for a siphon is standard
- Serve quickly – Most foams have a short window, especially without heavy stabilisers
- Avoid high heat – Unless you’re using agar or gelatine, keep foams away from open flames or hot surfaces
- Experiment in small batches – Until you find the perfect ratio and temperature
Foams don’t need to last all night — just long enough to serve and delight.
Real-Life Success: Stories from Curious Cooks
“I served tomato soup with a basil foam for a family gathering — same recipe I always use, but the foam made it feel like fine dining.” – Arjun, Bristol
“The first time I tried espresso espuma, I overcharged the siphon. It exploded all over my wall. Messy? Yes. Worth trying again? Absolutely.” – Kate, Brighton
“My daughter loves dessert, so I topped her birthday cake with mango foam and edible flowers. She thought it was straight out of a cooking show.” – Noah, Manchester
It’s not about being perfect. It’s about being bold enough to try something new — and having a bit of fun with it.
Espumas vs. Whipped Cream: What’s the Difference?
Espumas are often confused with flavoured whipped cream, but there’s more to them.
Espumas:
- Created using a siphon and N₂O gas
- Can be warm or cold
- Use gelatine or agar to hold their shape
- Range from airy to mousse-like
Whipped Cream:
- Typically just dairy + sugar
- Only served cold
- Collapses more easily
- Limited in flavour profiles
If you want a savoury, warm topping — say, a truffle espuma over risotto — a cream siphon with gelatine is your best tool.
Is This Worth Doing at Home?
If you’re the kind of person who loves experimenting in the kitchen, absolutely. It’s a small skill with a big payoff.
- Dinner parties become more interactive
- Weeknight meals feel less ordinary
- Kids (and adults) enjoy the surprise
- Presentation improves dramatically
Best of all, you’re learning how texture, aroma, and flavour work together, which makes you a better cook overall.
It’s about elevating without overcomplicating. And once you’ve done it once, you’ll find yourself wondering what else you can foam.
Conclusion: Your First Foam Is Just the Beginning
Creating foams and espumas at home isn’t about chasing restaurant perfection. It’s about adding delight, dimension, and surprise to your meals — with tools you can master and ingredients you already love.
Whether you start with a simple citrus foam for grilled prawns or go bold with a chocolate mint espuma on dessert, you’re stepping into a new way of cooking — one that engages all the senses.
So go ahead. Charge your siphon, blend that base, and let the bubbles begin. Your kitchen is now your stage.
